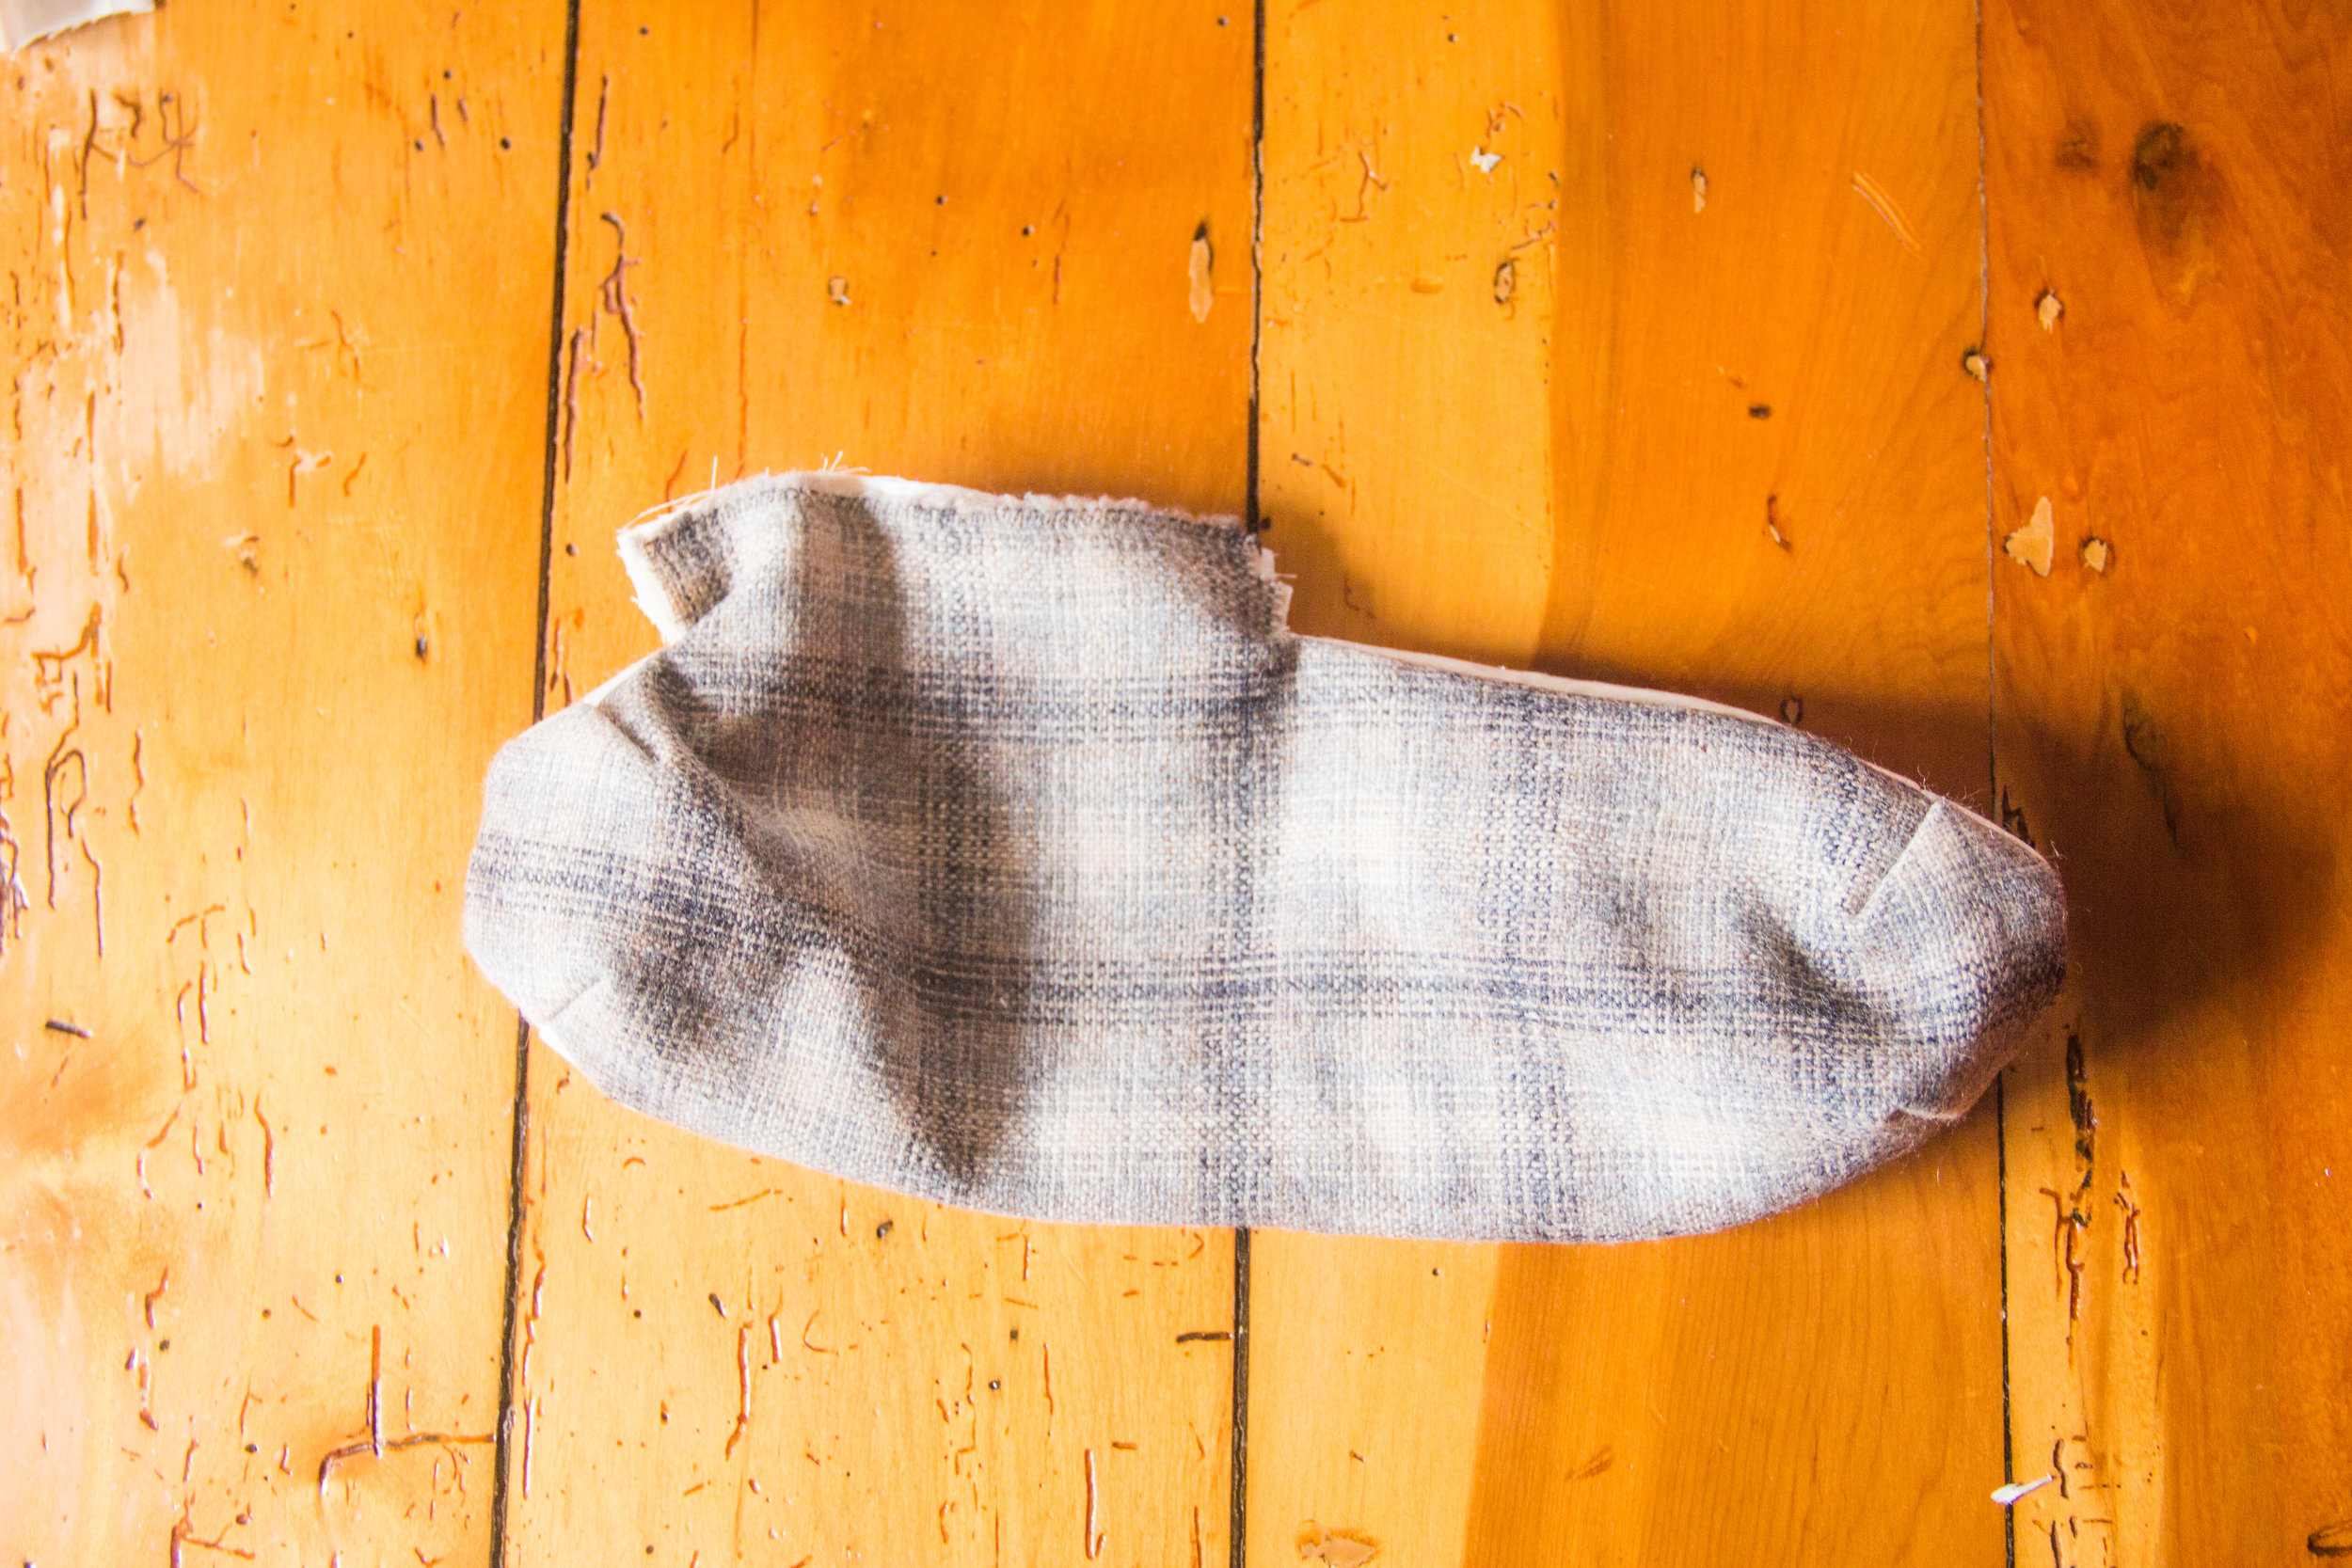
Hello! Welcome to another episode of the segment of my blog I like to call “Kat Makes Things to Help Kat Make More Things!” (just kidding, I’m not calling it that…) but you know. This one’s a set of finished objects, but they’re finished objects to aid in the finishing of other objects.
I used to have a tailor’s ham. It’s not the kind of thing you think to grab when you’re packing up your suitcase to move across the world, but I knew I’d have to replace it eventually. I delayed, first because pressing tools take up a lot of space when you’re not using them, and then because - once I’d finally committed to one - they were SO expensive, and I couldn’t confirm that the ones I was considering purchasing weren’t filled with polyfill (something to investigate - a lot of the mass produced ones don’t seem to mind being plastic filled these days) so I finally decided to just make my own.
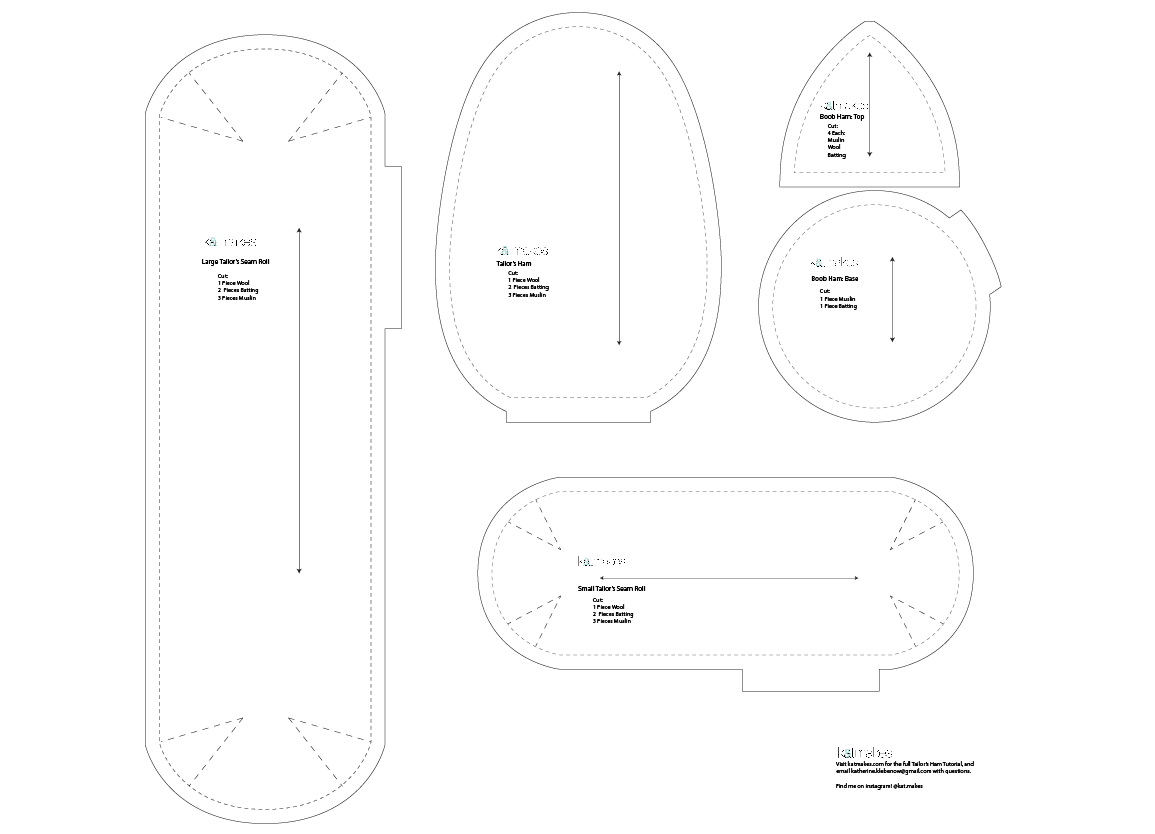
I decided on a ham, a standard sized seam roll, and a super sized seam roll. I ended up having materials left over, so I made a boob ham as well (bust ham? breast form? Who knows…) but she’s a bit special so she’s getting a post all her own in the next day or two. (I’ll cover the drafting then - but if you want to make one in my size, the pattern pieces are available if you just keep reading!)
Using measurements from an existing (probably vintage) ham and seam roll I borrowed from a friend, I drew rough shapes for pattern pieces. I also drew the larger seam roll piece, which is the perfect size for pressing leg seams in pants - I like the larger size because you don’t need to move it around as much, and it’s actually the one I use most frequently. I’ve made a little PDF download for you of the pattern pieces - mostly just to practice my pattern digitizing skills - that’s available in my shop, though it is is free! You’ll need to go through the checkout process with an email address to get the pattern, and if the payment screen comes up, just ignore it and click ‘continue’- my blog platform doesn’t know what to do with free stuff! Here’s a little preview though, if you just want to see the shapes:
So. You’ve got a pattern. Here’s your materials list:
100% Wool fabric, preferably plain weave (the 100% wool thing is REALLY non-negotiable here! I got 50cm, which was enough to make everything in my set with a small swatch left over.
Cotton muslin - I used unbleached because that tends to be what I have around. Try to shop around for muslin as densely woven as possible. Save your small off-cut scraps of this, we’ll use it later!
Cotton or wool batting - Don’t get polyester! Also, check that your batting doesn’t have scrim - scrim is a web-like stabilizing layer on some battings and it’s made of polyester, which melts. Sometimes you can peel off the layer of scrim, but if you’re shopping for batting specifically just get one without.
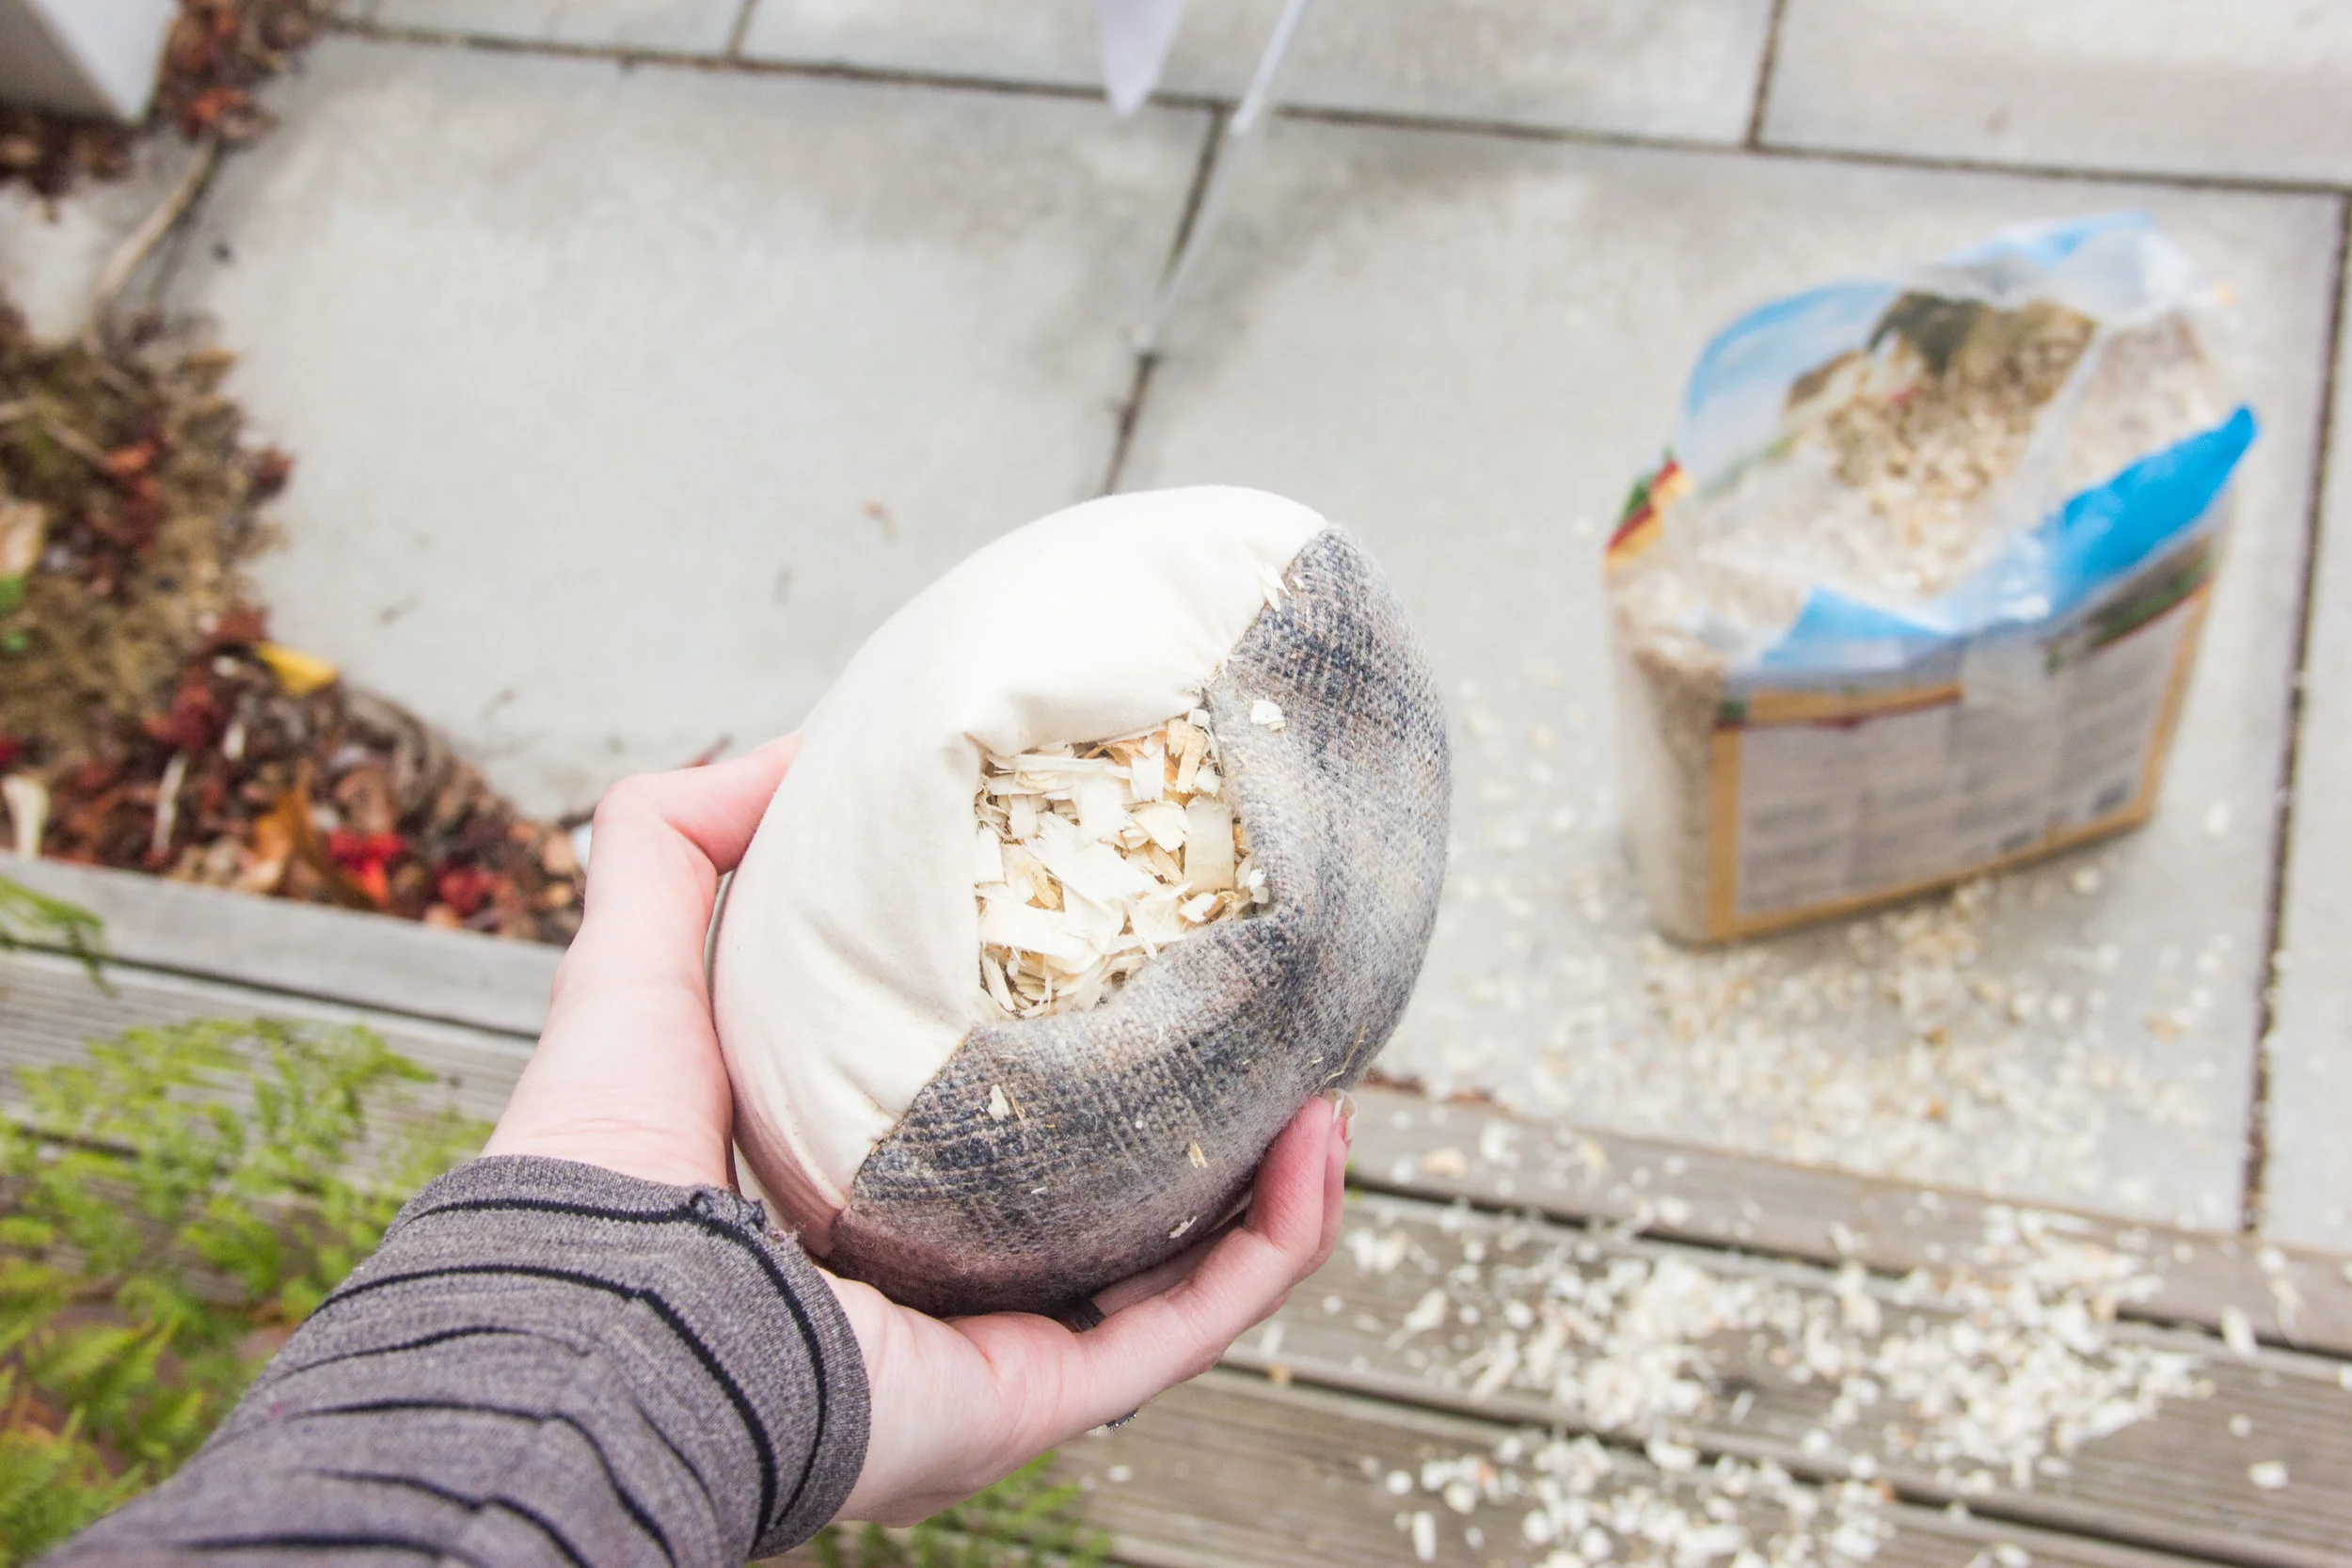
Wood Shavings - A lot of people stuff their hams with fabric scraps. It’s not the end of the world if you choose to do this. The tailoring gods will not descend from the heavens and smite you while you sew. It’s just that wood shavings (or sawdust, or some combination thereof) won’t compress over time like fabric will, so your ham will be firmer and last longer. If you’re just a casual ham user, go forth and stuff with fabric, but if you’re planning on doing long term steam setting and such, go for the shavings. If you don’t know a friendly neighbourhood woodworker, get yourself over to your probably equally friendly neighborhood pet shop (say hi to the kitties for me) and then get yourself a bag of wood shavings they sell for for rodent cages. They’re usually untreated, they’re a good size, and they come in a manageable pack size. I chose aspen instead of traditional pine - it’s more expensive but I’m allergic to pine, and aspen has such a nice smell… but pine is totally fine too.
An empty toilet paper roll and a chopstick or similar - for help in stuffing!
Thick hand sewing thread - upholstery thread works well here. If you’re stuffing hard enough, regular sewing thread will break under the pressure!
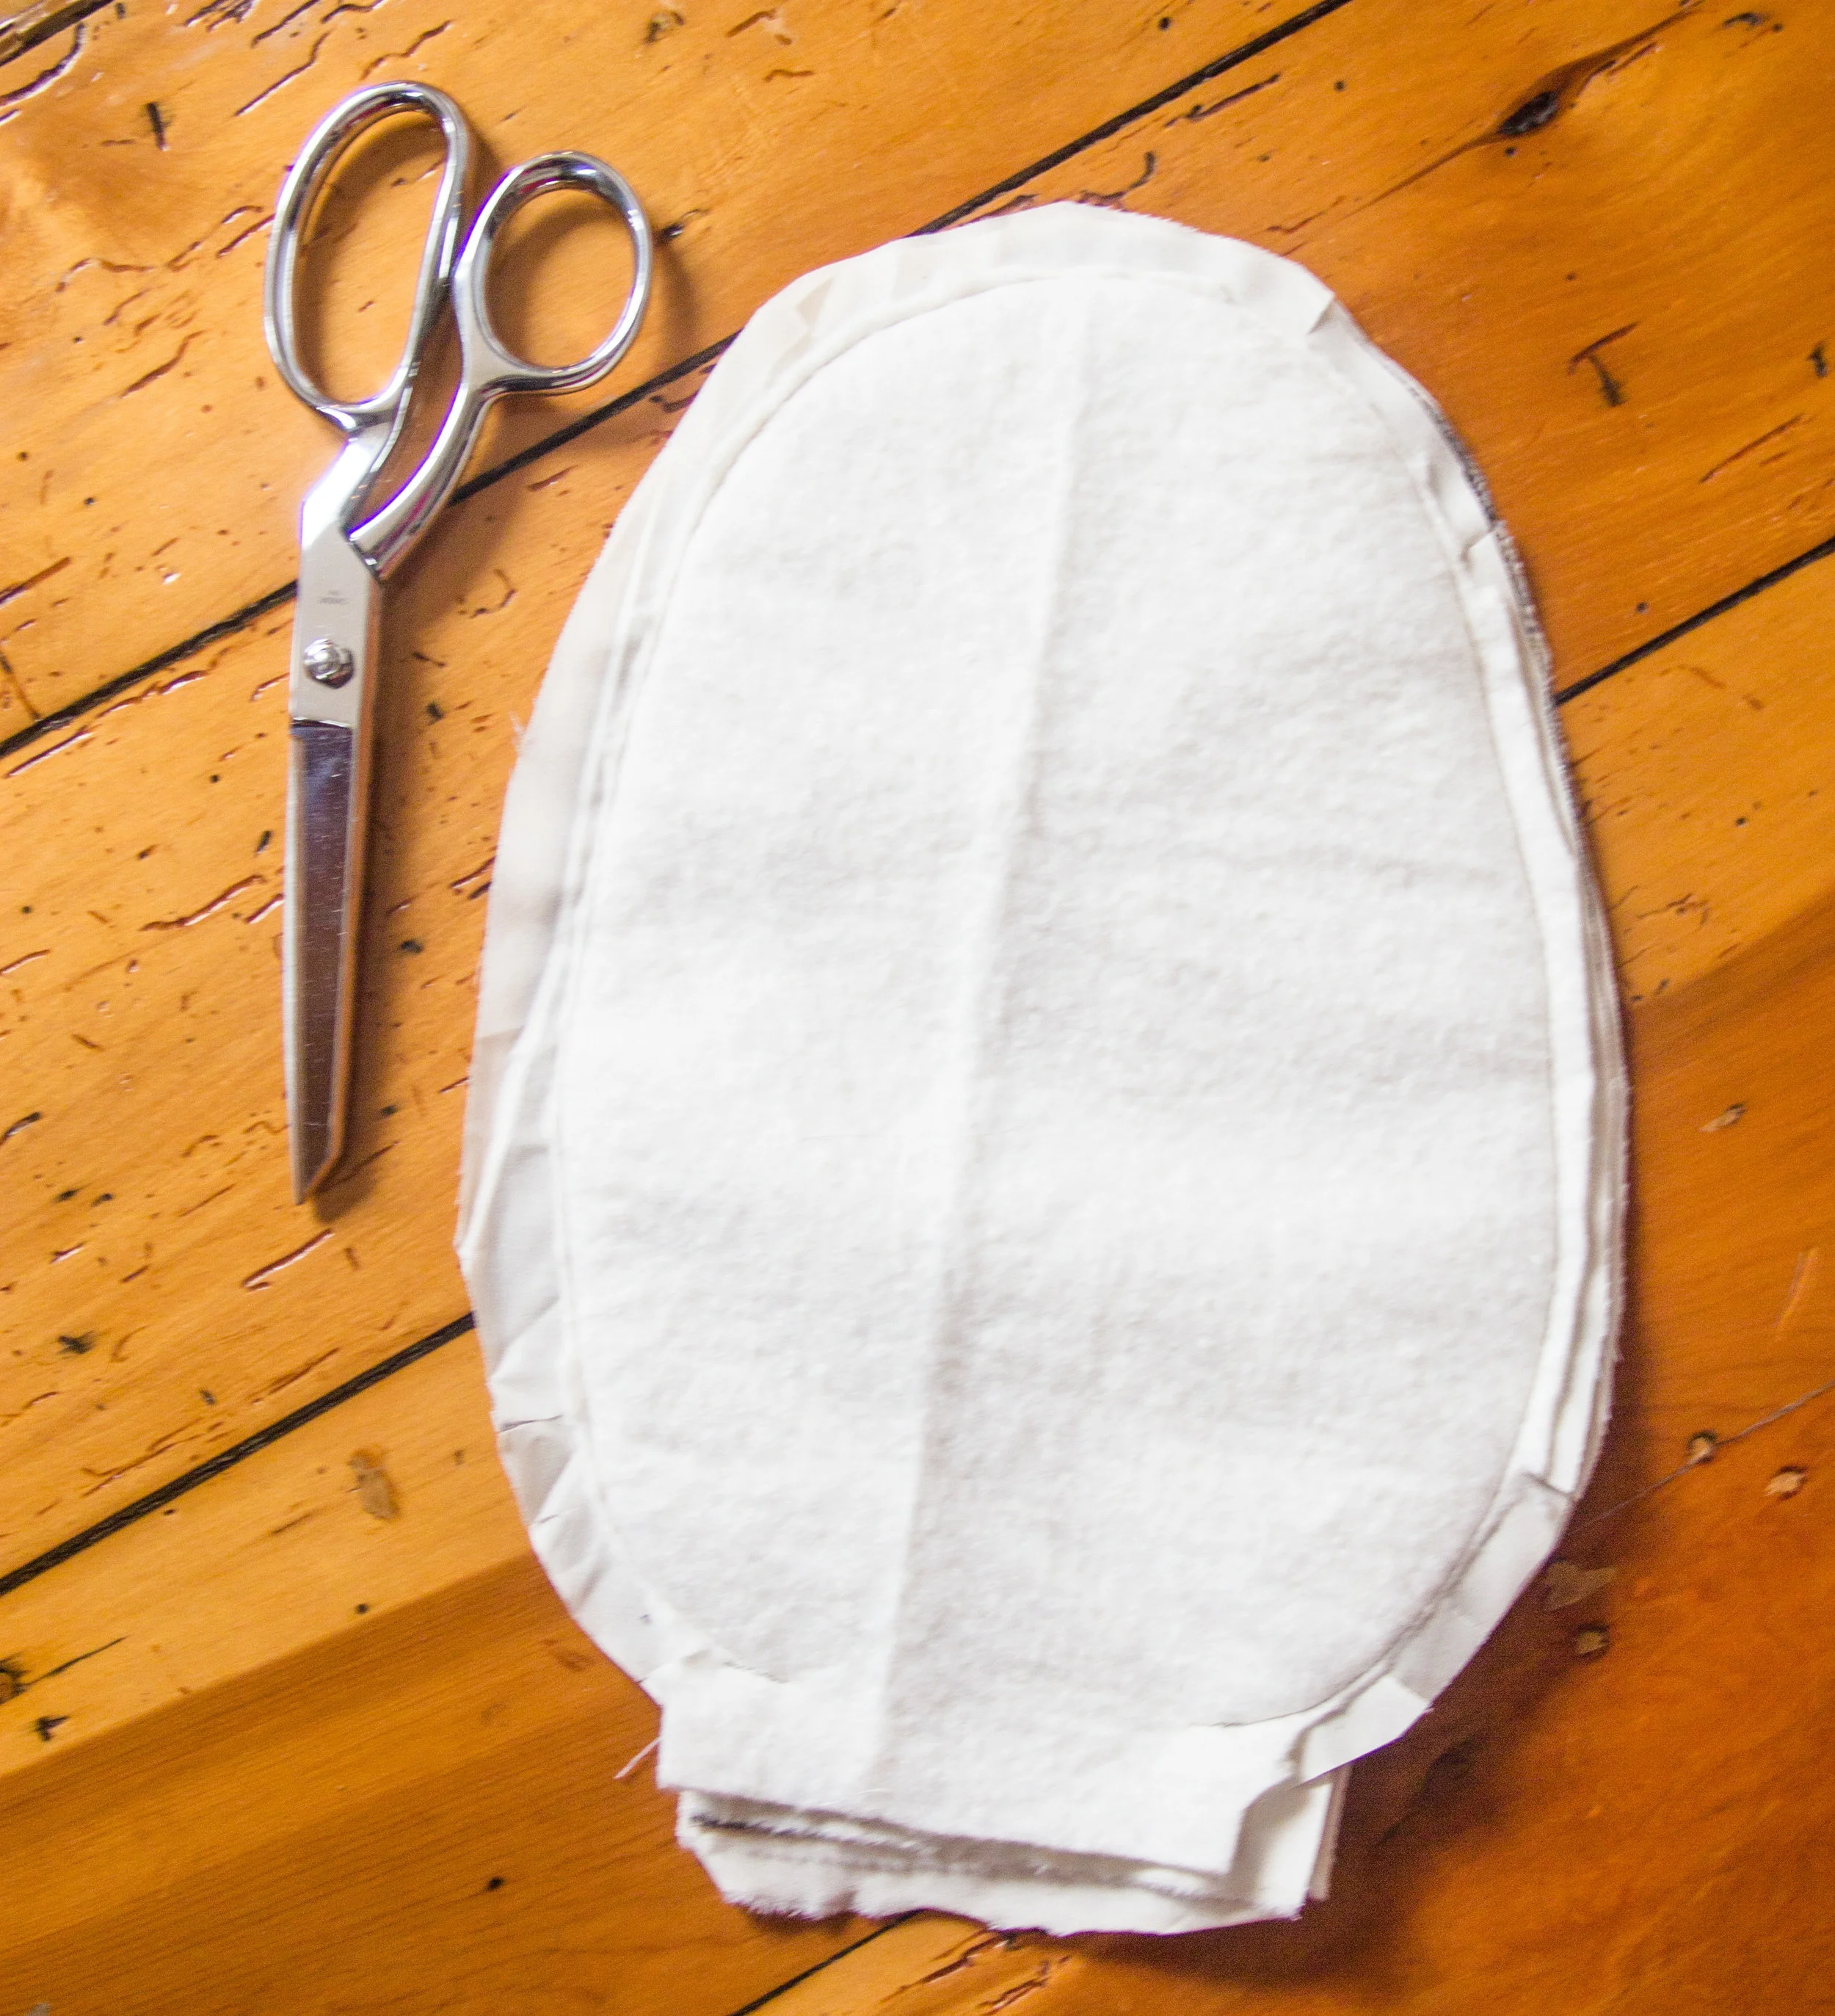
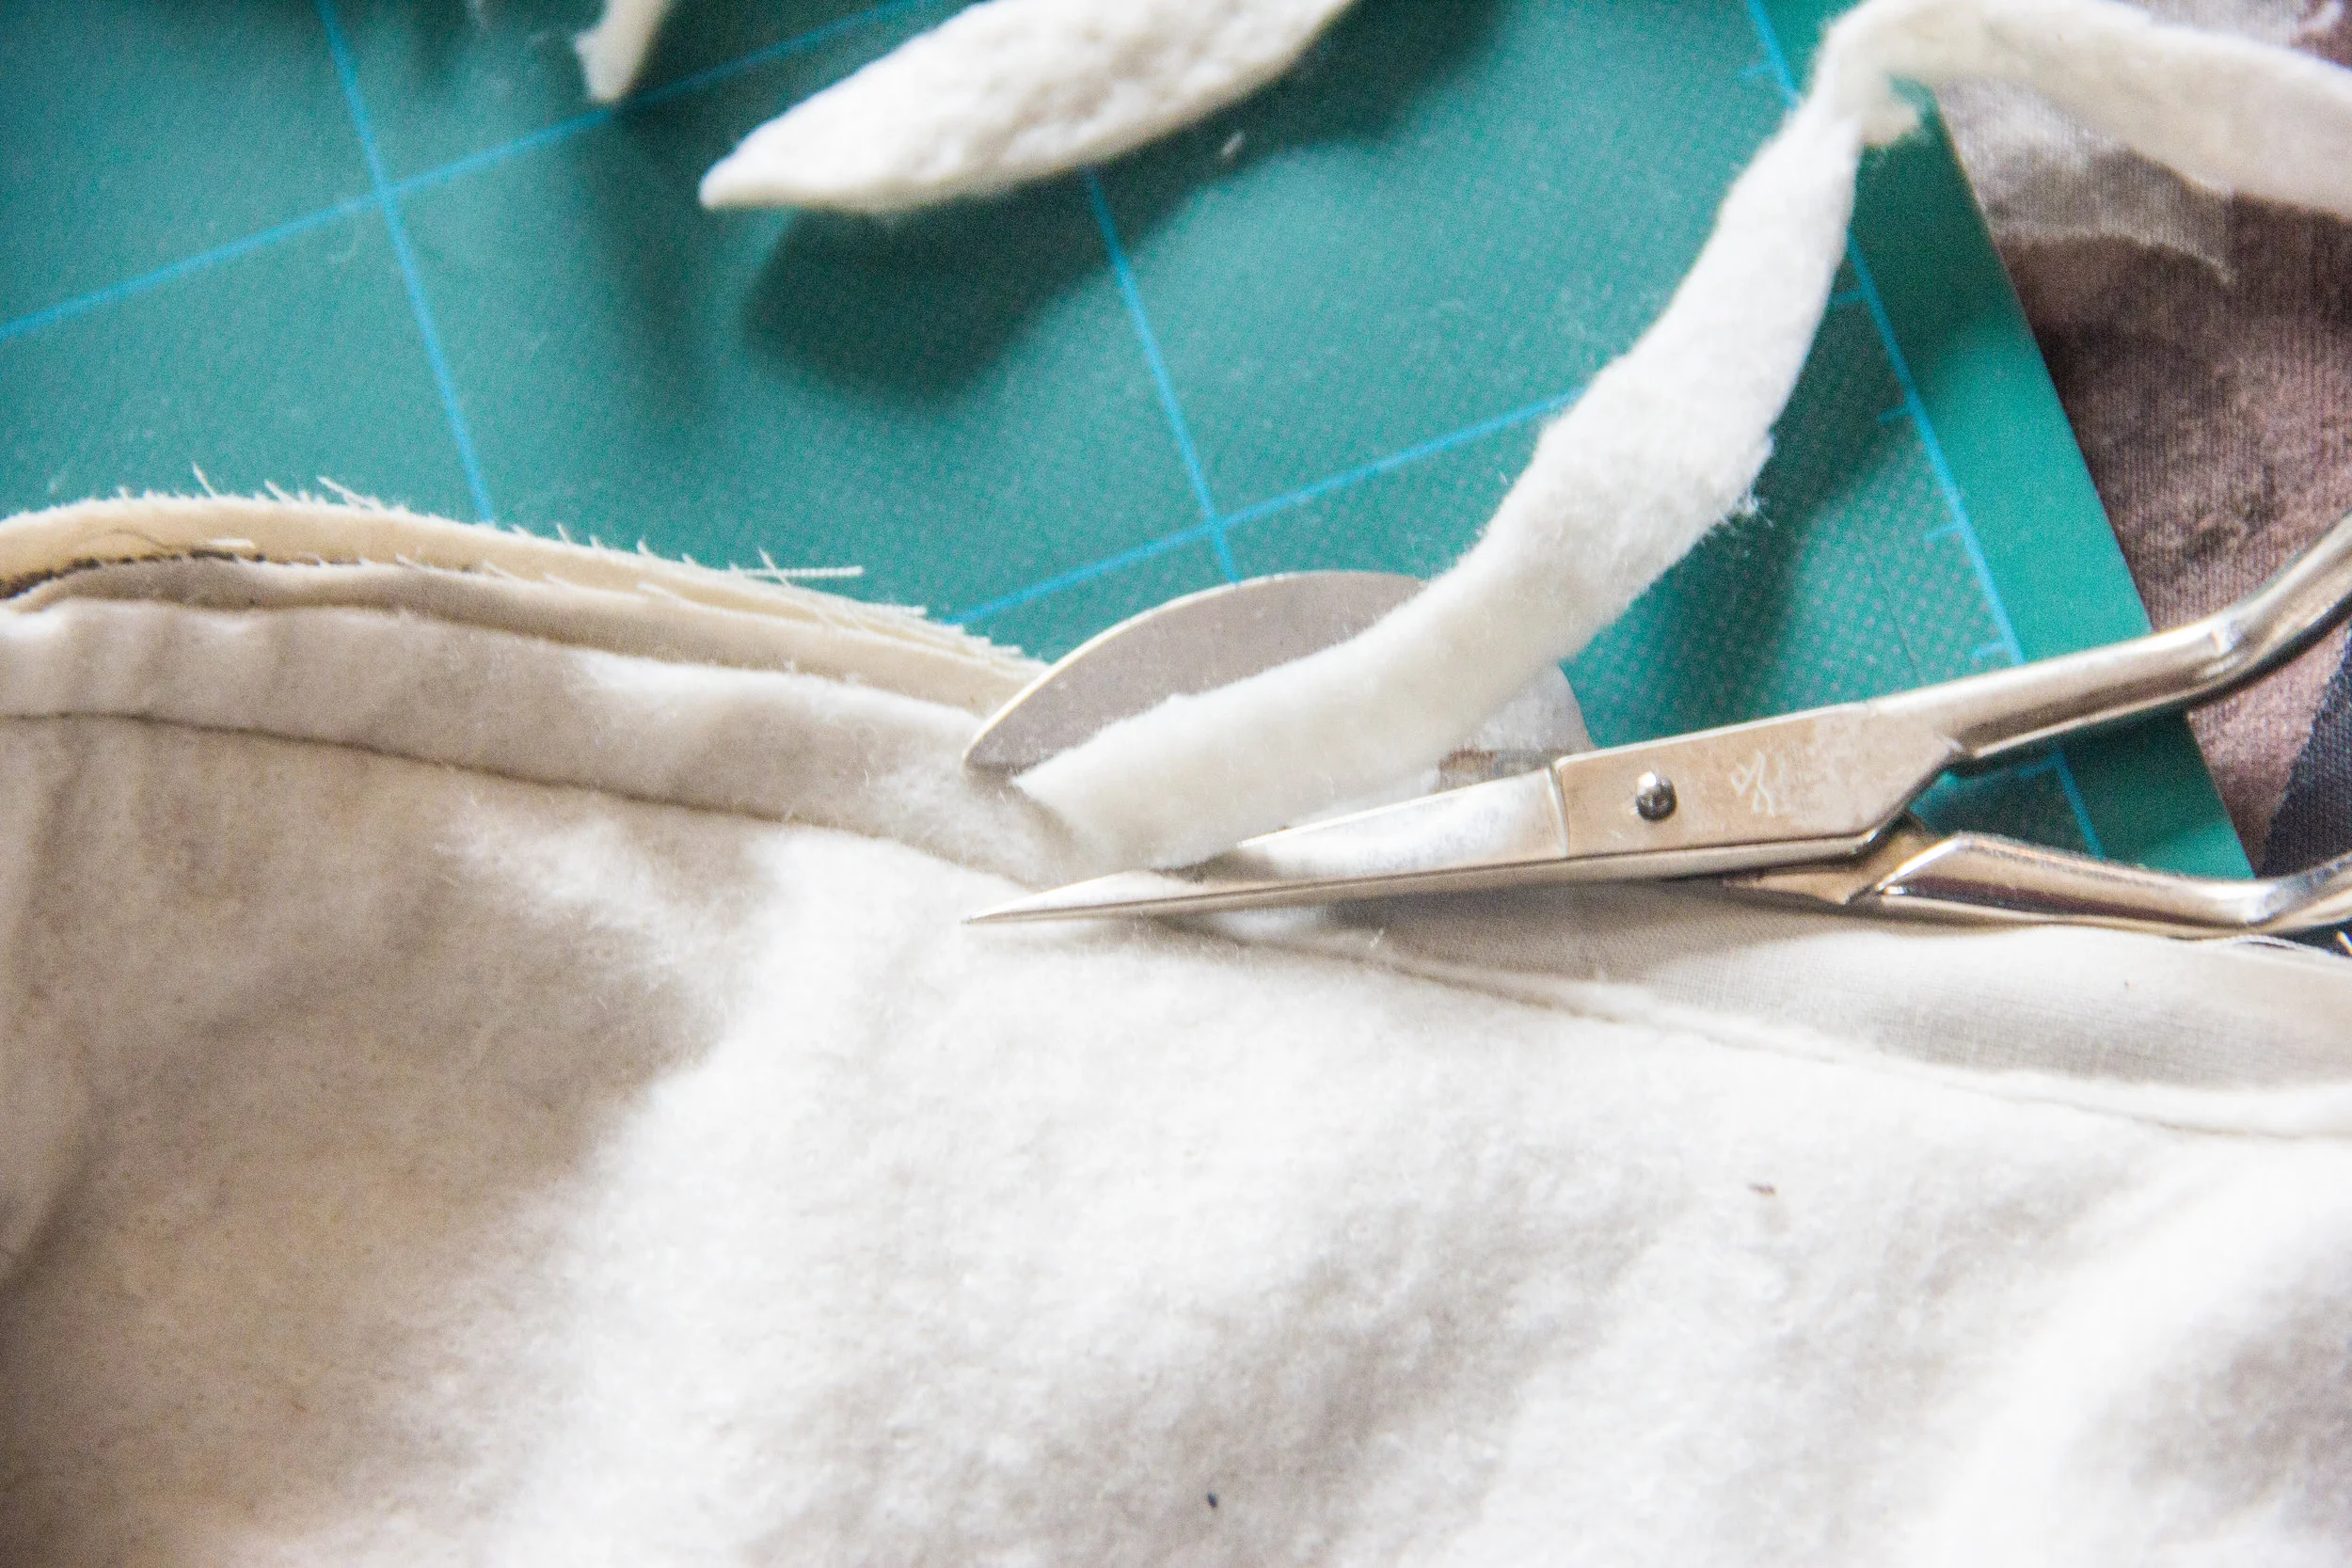
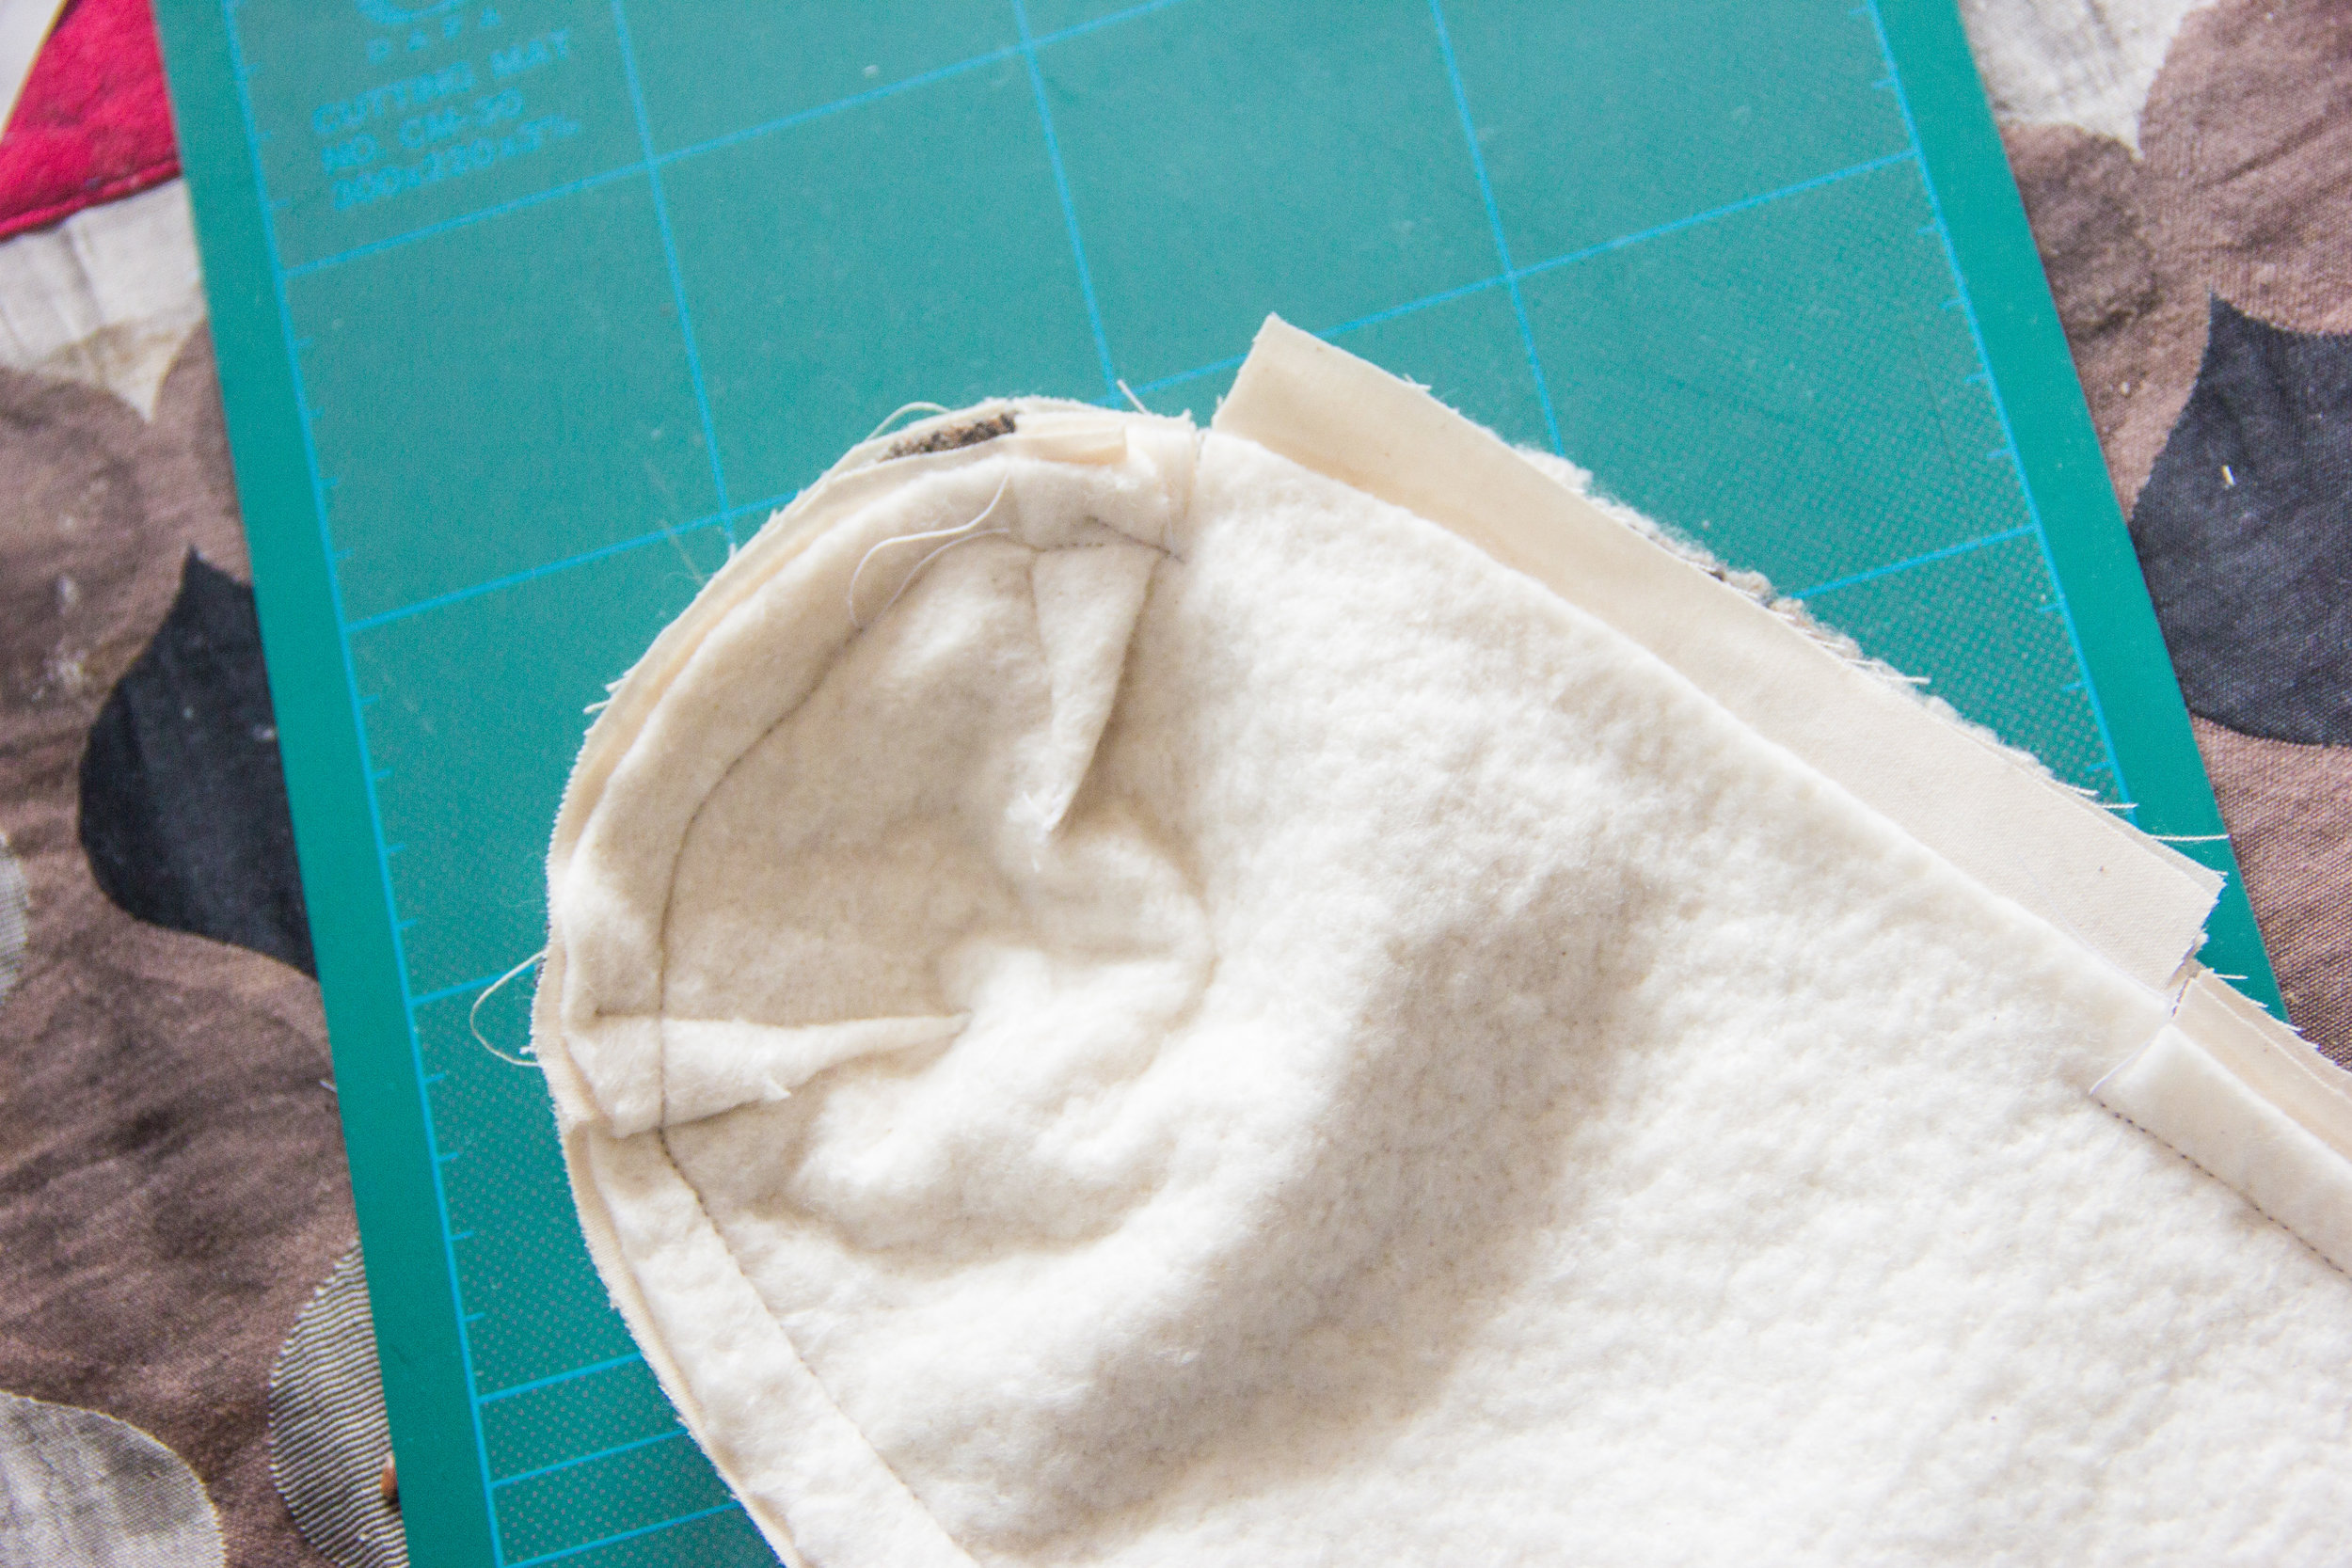
Cut out all your pieces - one of each piece out of wool, two of batting and three out of the muslin: for the top of your ham, the layers go wool: muslin: batting, and the bottom goes muslin: muslin: batting. To achieve that layering, the total stack you’ll be sending through your sewing machine will go: Batting, muslin, wool, muslin, muslin, batting. Stitch around the edges of the ham, backstitching at each mark so that your ham doesn’t start to unravel as you stuff it. Clip your curves, and turn the ham right side out - the two batting pieces should now be facing each other.
To make the seam rolls, you’ll sew the darts before attaching the top and bottom pieces. Sew the darts through all three layers of each side, and press them well. Grading the darts before you sew the top to the bottom will help reduce bulk, but don’t grade too aggressively, those seams are going to be under stress!
I won’t lie to you - stuffing a ham is fiddly and annoying. It’s kind of the one reason to consider buying one pre-made instead of making it yourself. You, the floor, the outside of your ham, and everything else in sight are going to be covered in a layer of wood shavings, and they’re going to be very hard to vacuum up. If it’s a nice day outside, I highly recommend ham-stuffing outside. Avoid carpet if at all possible. You can also lay a piece of newspaper down to catch the dropped shavings and funnel them back into your ham. Just.. be prepared to be at it for a while. Put some sunscreen on.
Using your toilet paper tube and chopstick, funnel wood shavings into the ham, and compress them as much as you can. Use force, you want the stuffing to be as firm as possible. Keep stuffing until you physically cannot stuff any more inside of your ham… and then keep going. You know how you squeeze avocados at the supermarket to see if they’re still firm or soft and ready to eat? This ham needs to be the hardest, most unripe avocado you’ve ever squeezed in your LIFE.
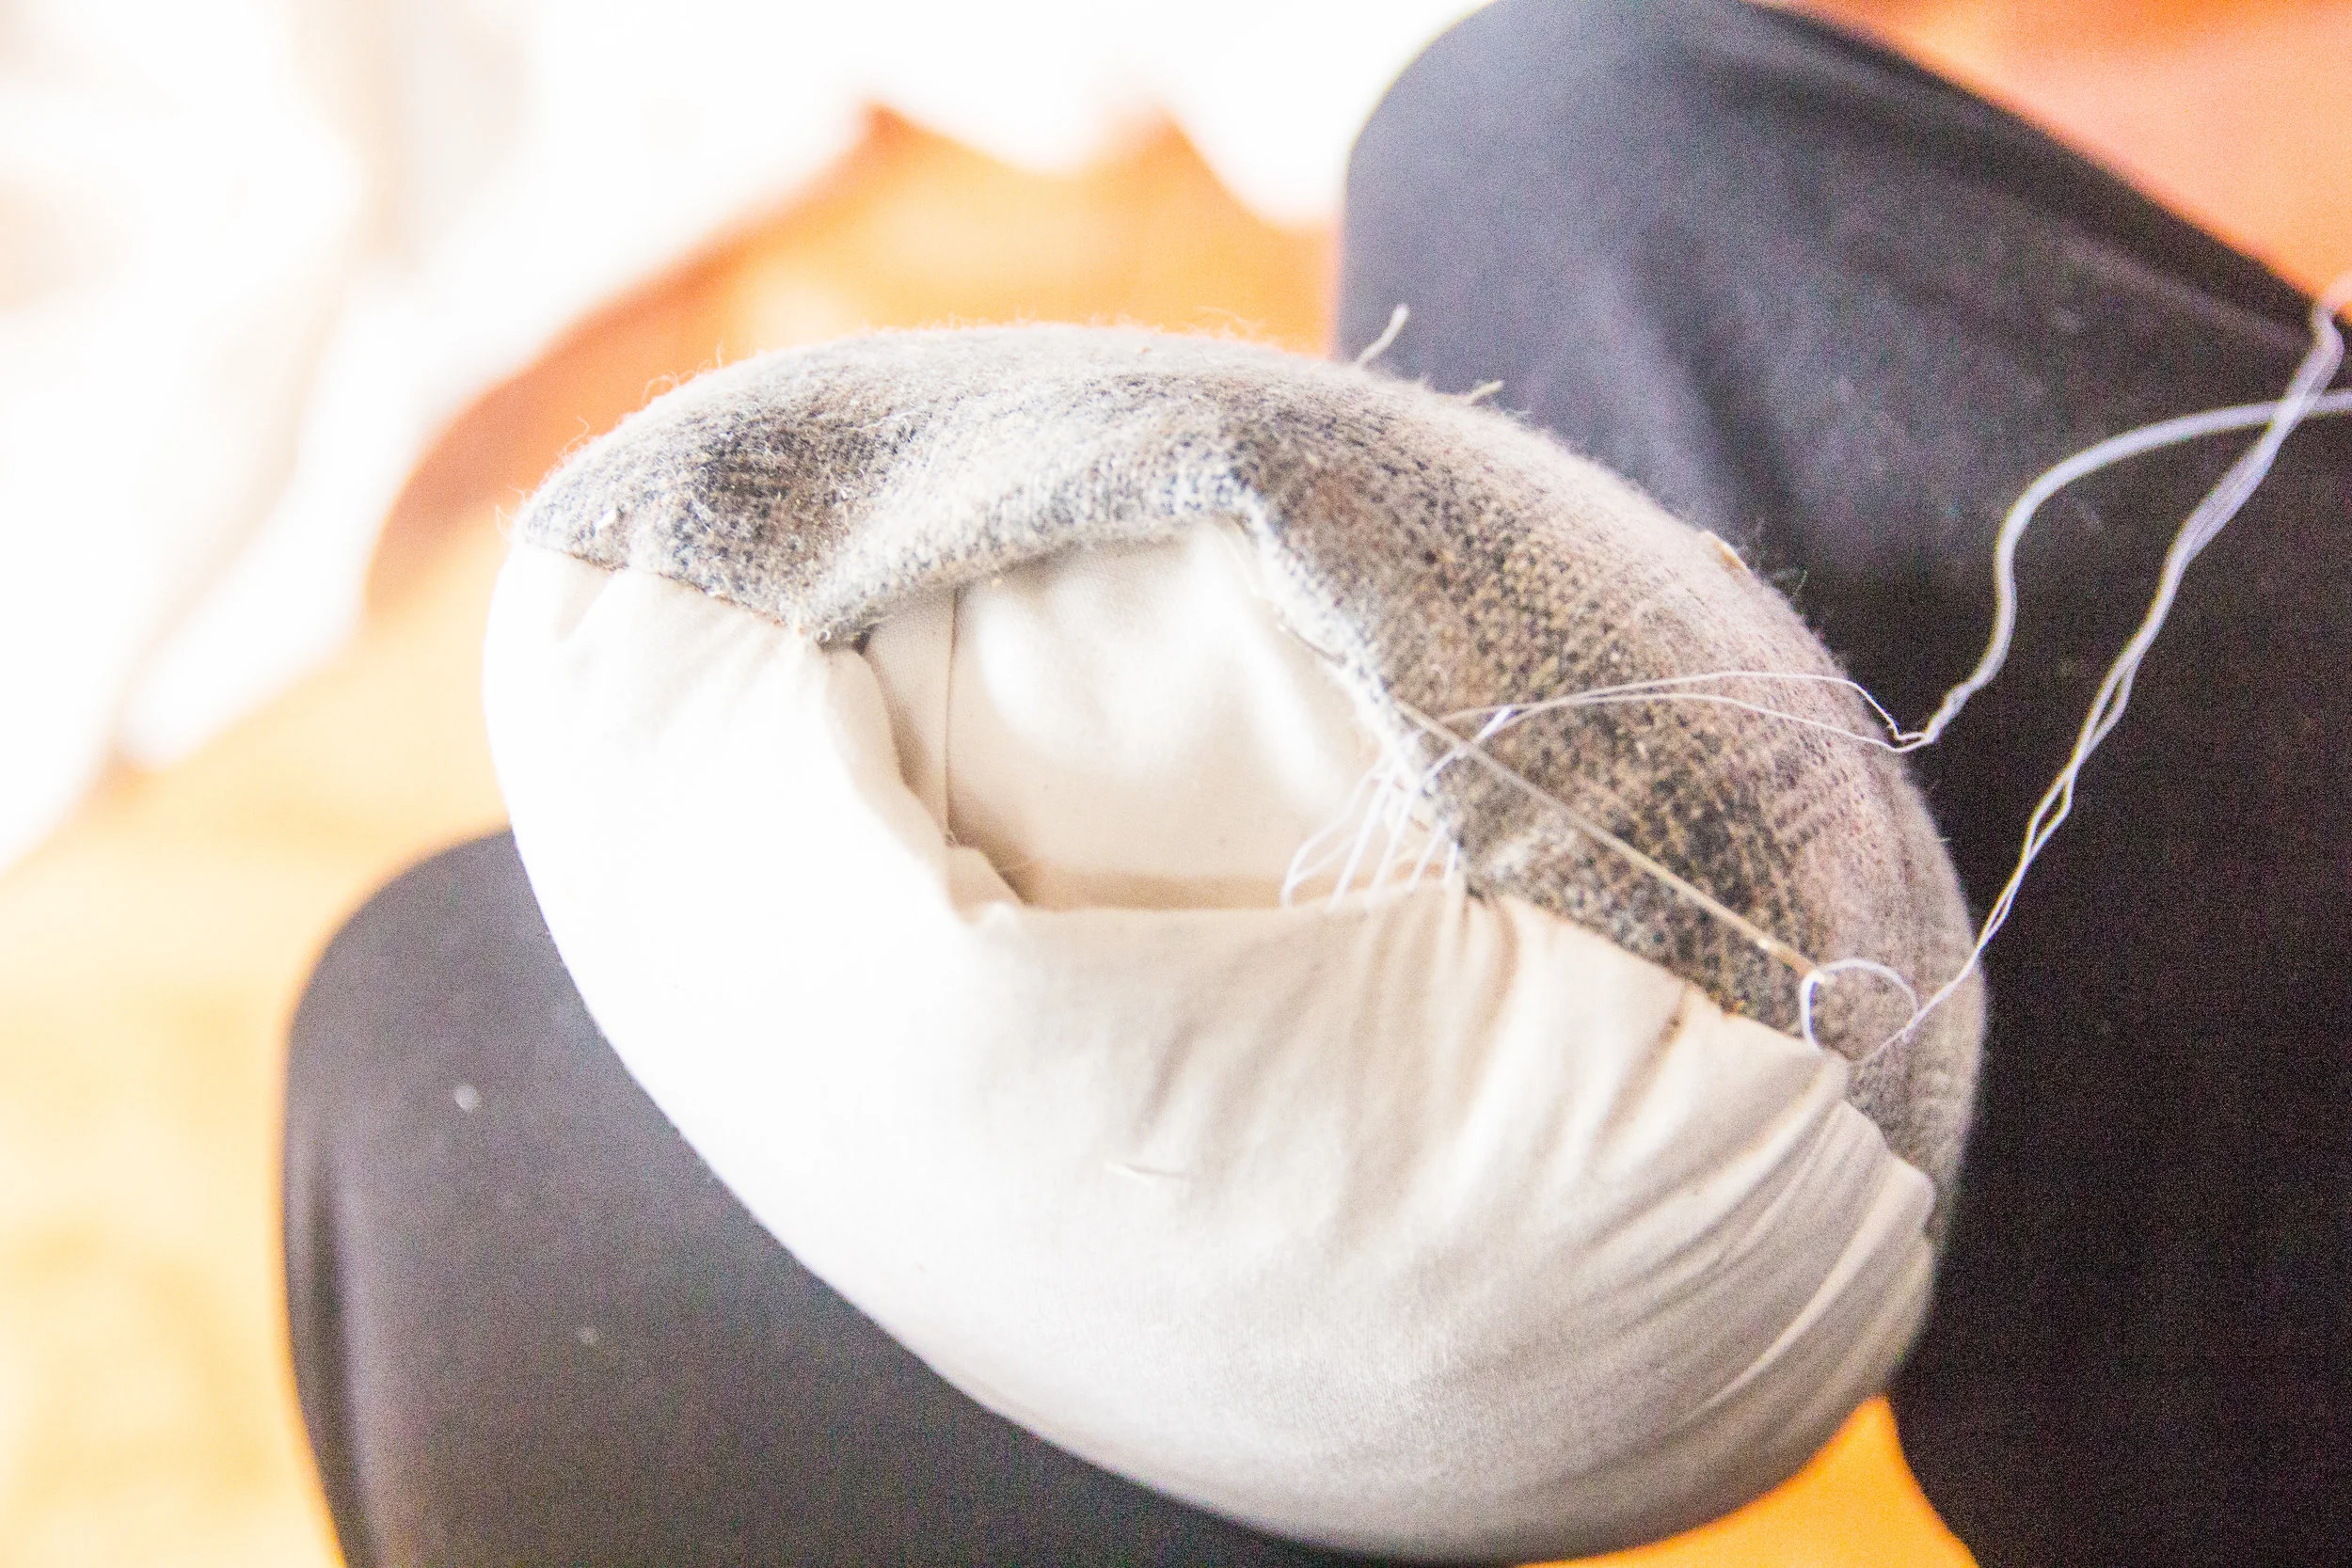
The opening of your ham will be gaping open from all the stuffing - this is okay - we’re going to stitch it back together. To keep the stuffing contained while you do that, wedge a bit of muslin inside the opening. Secure your thread, and mattress stitch the opening closed. This is another hard part. Pull the thread hard as you go to tighten the opening up, and tie knots at the end to make sure your precious new ham doesn’t spring open. That’s it, you’re done!
Repeat for the seam rolls - they’re a bit fussier to stuff because the opening is on the side, but I promise it’s better than trying to stitch closed the curved end of the seam roll.
The next post is going to focus on the drafting of the boob ham - you’ll use all the same materials, but the seam rolls and tailor’s ham will work with any body shape or size, whereas a boob ham will be most helpful to you if it’s approximately the size of the boob you’re sewing for - so I’ll show you how to draft it to work for your size!
See you next week!


